In the original Uprising demo and also in the autumn version, you can see a subscription box just before the footer. In this post we will see how to add it to our website easily.

This subscription form is built with Genesis eNews Extended, one of the plugins included in the Uprising’s one-click theme setup, so you may already have it in the list of plugins on the web. If not, just look for it in the plugin repository and install it.
It is a very simple but powerful plugin that allows you to connect your website with most of the email marketing tools commonly used and works as a widget that we can add in the Widget Area we prefer.
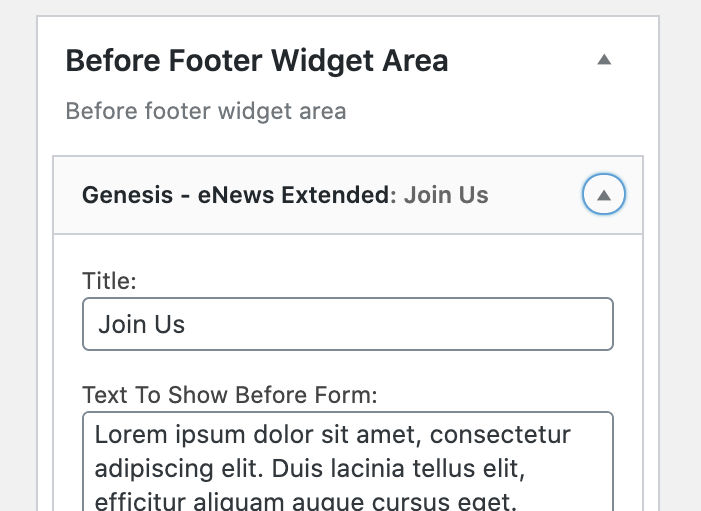
In Uprising, the demo design place it on the Before Footer Widget Area, which appears on all pages just above the footer.
As this theme already has the necessary css styles for this page, the only thing we must do is drag the widget to the right area and fill in the necessary data to connect it to our email provider.

It allows us to add name, surname and email fields, although only the email is mandatory and in the action field we’ll indicate the corresponding URL according to the newsletter provider.
We can also activate the privacy policy link and specify the text for the subscribe button, as well as paragraphs before and after the form.
It’s a very easy-to-use plugin but very versatile and widely used in the Genesis Framework themes for its simplicity and smooth performance.
We hope you found this tutorial useful to customize Uprising to your liking. If you have any question let us know in the comments.

Leave a Reply