Theme Setup and Walkthrough Video

Requirements and recommended plugins
Compatibility
Dakota Theme requires:
- WordPress version 5.5+
- Genesis Framework version 3.1+
- PHP version 5.6+
Recommended Plugins
The following plugins are those used in the demo and those installed with the installation wizard, but they are not essential, you can replace them with the ones you prefer to use.
- Genesis Blocks: block collection that enhances WordPress editor.
- Genesis – eNews Extended: Plugin to add subscription form on the web and connect it with your email marketing platform.
- Simple Social Icons: Plugin used to display your social profiles on the web.
- WPForms Lite: Plugin to create forms easily.
- Osom Blocks: Plugin to add a block to display the latest entries of a custom post type anywhere on the web
Plugins for ecommerce
These plugins are used to add store functionality to the theme demos, they are not necessary if you are not going to include online sales on your website.
- WooCommerce: Add online store functionality to your website.
- Genesis Connect for WooCommerce: Allows WooCommerce pages to be displayed correctly in Genesis Framework templates.
Install and configure Genesis and Dakota Child Theme
Dakota Child Theme requires the parent theme Genesis Framework, you can download for free here. Once you do, upload it to the WordPress installation (no need to activate it) and follow the instructions bellow to install and configure Dakota Child Theme:
Installation from WordPress Dashboard (Recommended)
- Download the zip file of the topic on your computer.
- Go to Appearance -> Themes
- Click on “Add New” and select “Upload Theme”
- Find the dakota-v1-0-0.zip file on your computer and click “Install Now”.
- Once installed, activate the theme.
Installation using FTP
- Unzip the file downloaded dakota-v1-0-0.zip on your computer.
- Connect to your site via FTP and upload the dakota folder in your WordPress theme folder (/wp-content/themes/)
- Once uploaded, go to your WordPress Desktop, and under Appearance -> Themes, search for Dakota Theme and activate it.
One-Click Theme Setup
When you activate the theme, Dakota gives you the option to automatically configure the sample content and recommended plugins.
Although it is not necessary, it is recommended to have the theme ready to use.

The wizard will install and activate the recommended plugins and create the sample pages with block templates that will help you prepare the pages of your website.
General Settings
Once the theme is installed and activated, you can customize it and adapt it to your needs from the WordPress Customizer (Appearance Menu > Customize)
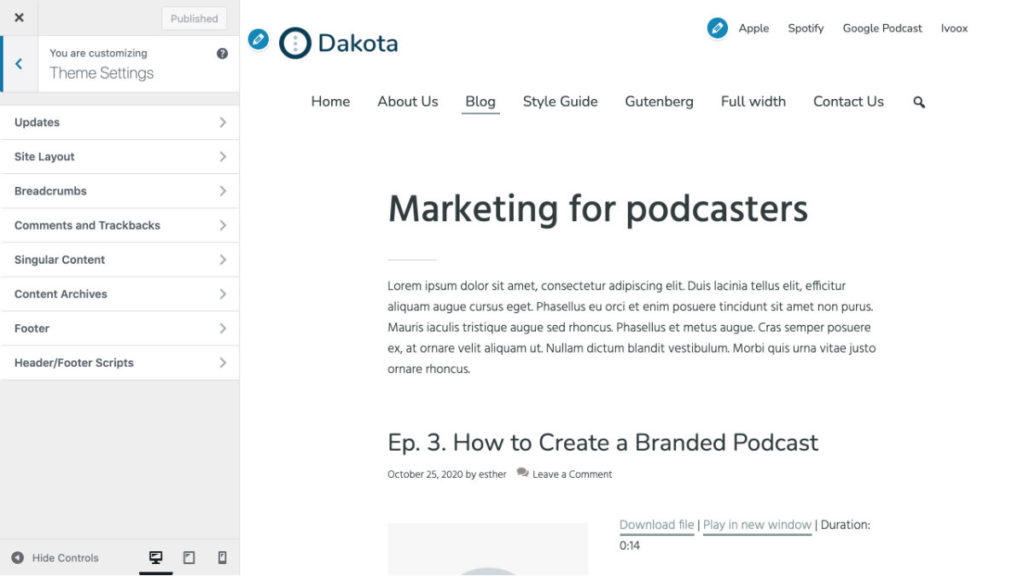
From the customizer you will be able to define:
- Site title, logo and favicon
- Colors: Accent, main and secondary
- Menus
- Widgets
- Home page settings
- Theme adjustments
- SEO Settings
- WooCommerce ( in case you have the plugin installed )
- Additional CSS
Many of these customizer options are native to WordPress independent of the theme. Below are some more specific ones:
Colors:
From the customizer you can choose the three main colors of your website:
- Accent color: is the highlighted color used in buttons, links, menu selector, etc…
- Text color: main text color of the web
- Footer color: color of the footer. Also used as a secondary in the block editor color palette.
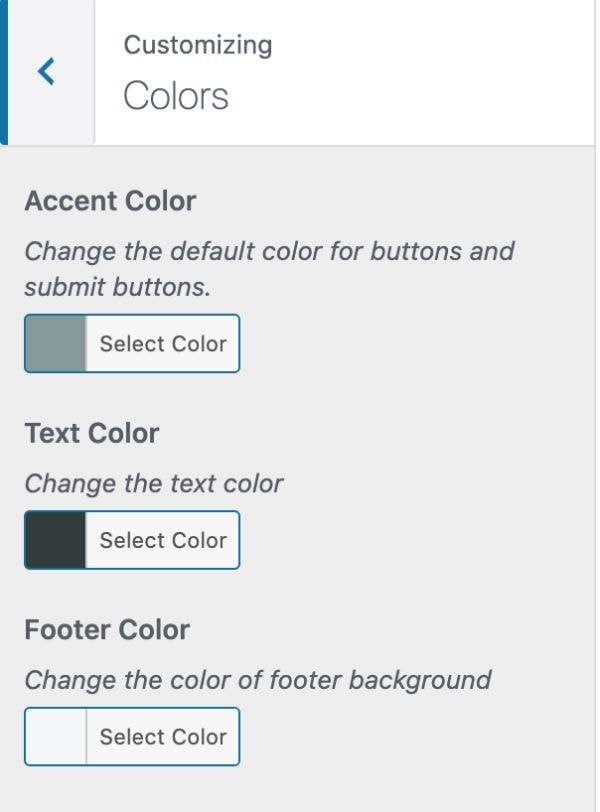
Note: the theme incorporates a text to background contrast calculation that automatically changes the text color when an element’s background is not dark enough to ensure readability.
These settings are generic for the entire website, in any case you can modify from each of the pages and blocks the color of any element with the block editor regardless of what is indicated in the customizer.
Theme Settings
In addition to the usual options, in the section Theme settings you can select what information to display and how in the blog pages:
- Content Archives
- Singular Content
- Footer
Widgets
Although Dakota is block-based, it still uses some general widgets for the whole page, such as:
- Footer: space to add information at the bottom of the page.
- Before Footer Widget Area: space just before the footer to add information common to the entire website or CTA.
Block Templates
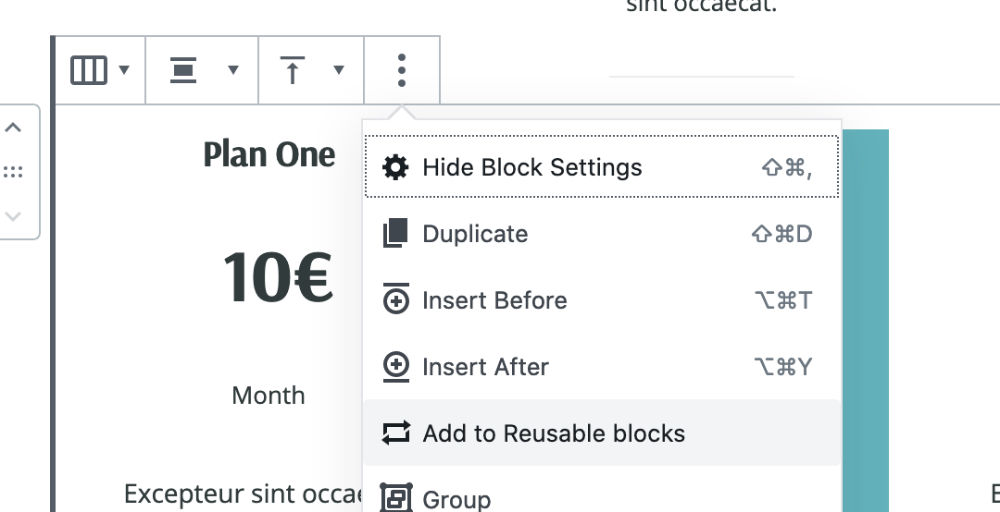
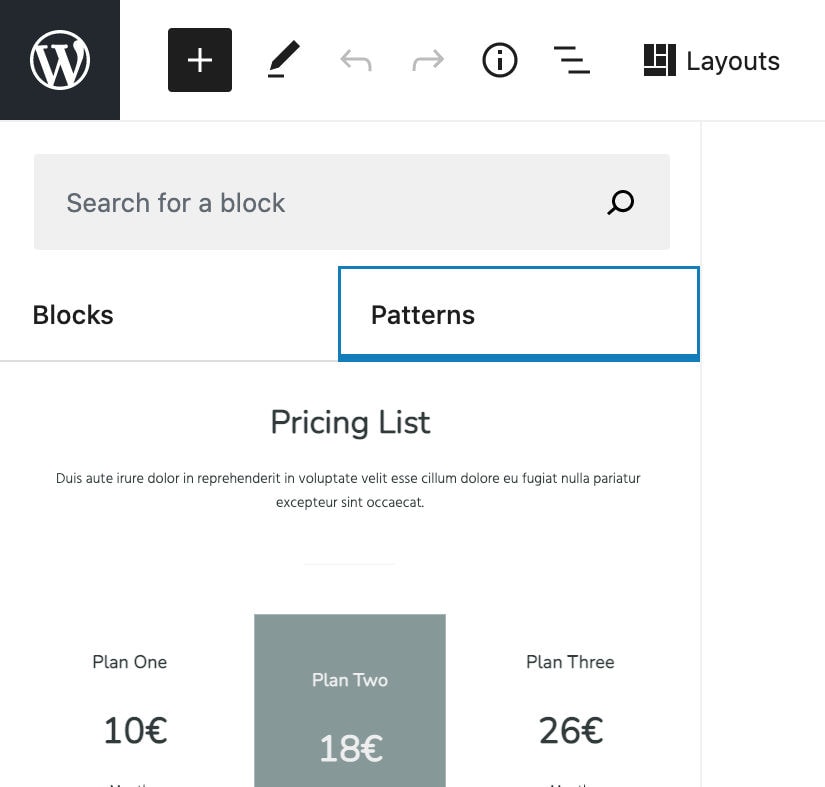
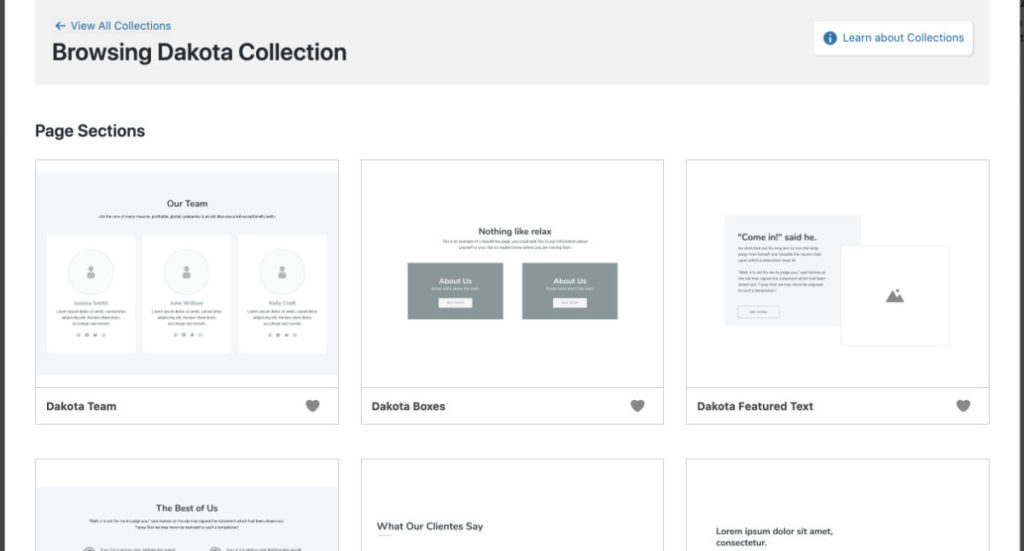
Dakota comes with some predefined block templates that you can adjust the design and customize for your website.
In order to use them, you can convert them into reusable blocks and insert them anywhere on your website, adjusting the design to the style of your website.
Block Patterns
Genesis Blocks Layouts
How to display the top right menu
When you install Dakota and configure it with One-Click Setup, you will see that the top right menu that appears in the demo with the podcast feeds access is not displayed. This is because it can’t be created on the onboarding process. But you can add it easily.

To do it, just follow these steps:
1- Create a standard WordPress menu from Appearance -> Menus, with the items you prefer.
2- Go to Appearance > Widgets and add a “Navigation Menu” item to the “Header Right” widget area, select the menu created and save your changes.
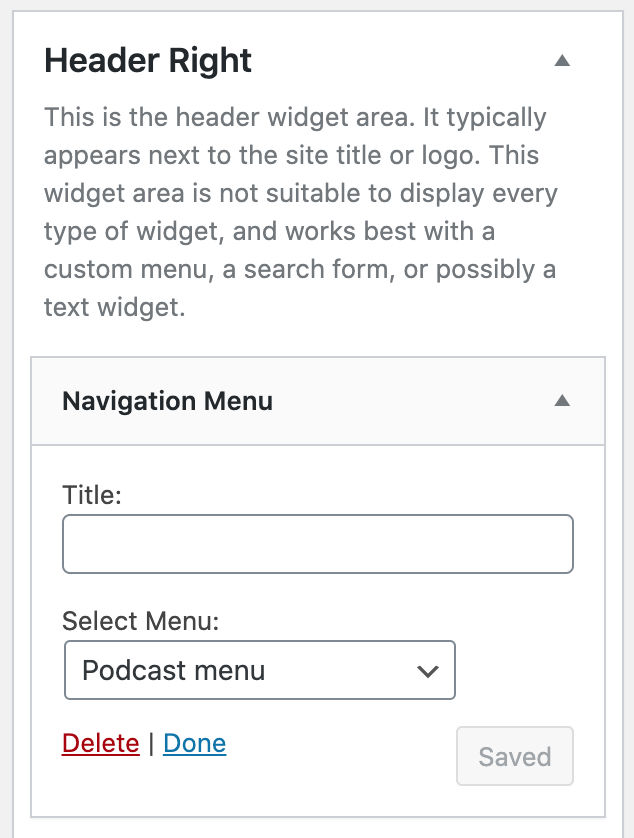
3- Done! Navigate to the front and you will see that the new menu appears on your website.
Note: By default the RSS icon appears in front of the menu. If you want to hide it, just add this line in the custom CSS:
.header-widget-area ul.menu:before {
    background: none;
}
Support
If you have any problem with the subject, find any error or do not know how to configure something, you can request help from the support form.
