Learn how to add new typographies to any WordPress Block Theme when using WordPress 6.5 or higher without code or plugins.
Until now, to change the fonts that come with a WordPress Block Theme, you needed to install a plugin or have some coding knowledge to change them directly in the theme archives.
But with the release of WordPress 6.5, you can now easily change the font of any WordPress Block Theme from the Site Editor, and upload your own typography files or select from the ones available in Google Fonts.
Do you have WordPress 6.5 or higher installed on your website? Then follow these instructions to change the typography to suit your needs. No code needed!
Steps to Change the Typography in a WordPress Block Theme
Go ahead with these instructions or take a look at the step-by-step video:
1. Add a new typography
- From the WordPress desktop, follow the path Appearance > Editor > Styles and click in edit styles icon.
- Now click on the Typography settings inside the Style Settings (right side of the screen).
- Here you can see both the fonts already available in your theme and the elements for which you can set their font and styles.
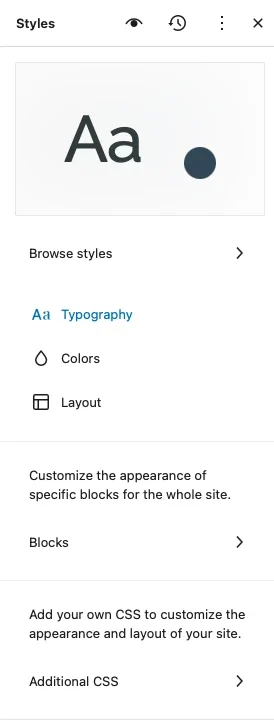
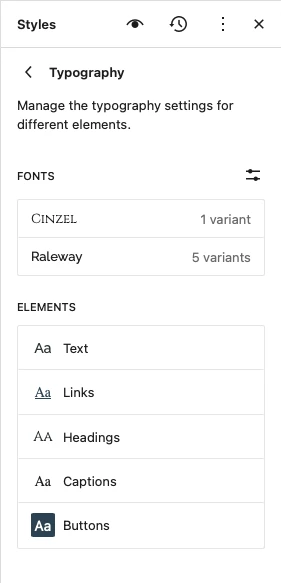
- Click on the “Manage Fonts” icon, over the already installed fonts.
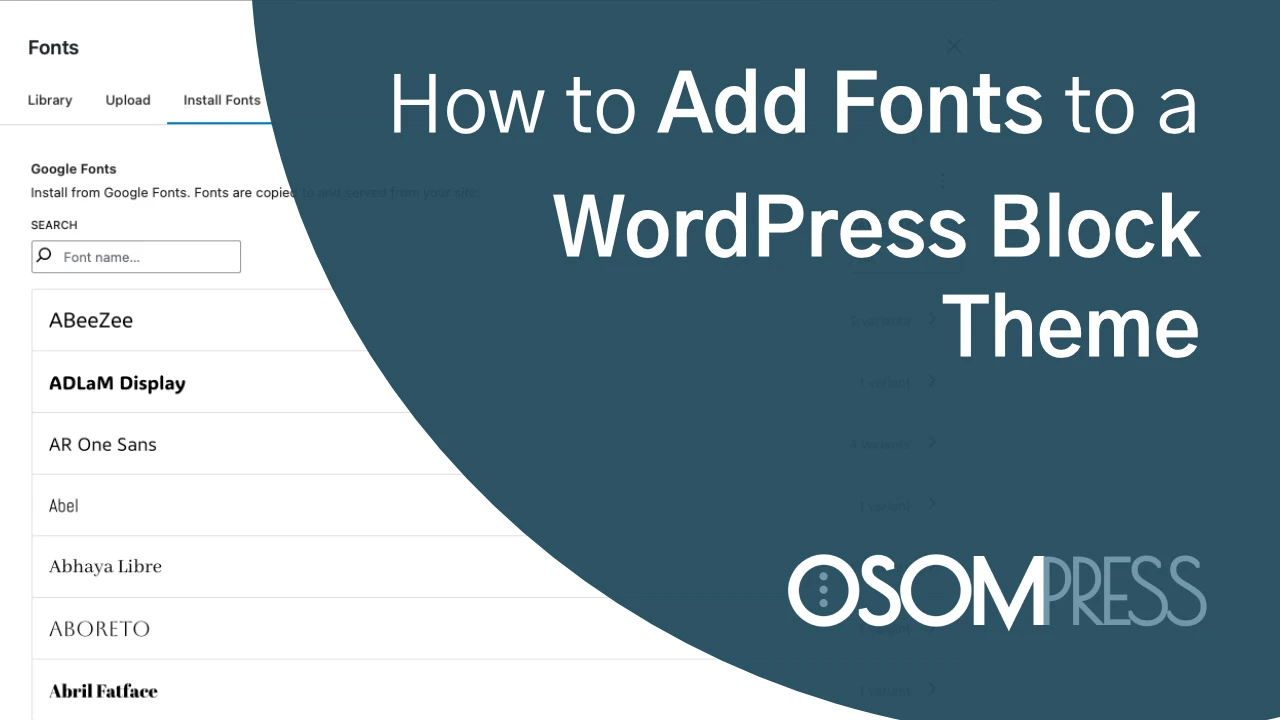
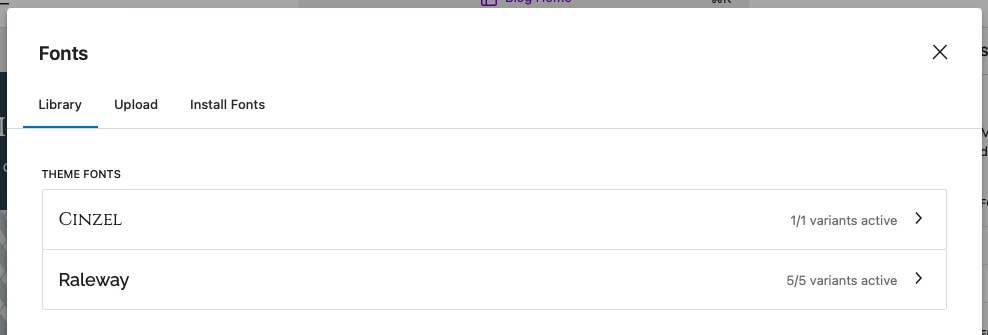
- Here you will see 3 tabs:
- Library: with the fonts already installed in the theme and their variants.
- Upload: where you can directly upload your chosen font in .ttf, .otf, .woff, and .woff2 format.
- Install fonts: where, after giving permissions to connect to Google servers you will be able to search and pick any Google Font and which of its variants you want to install in your theme.
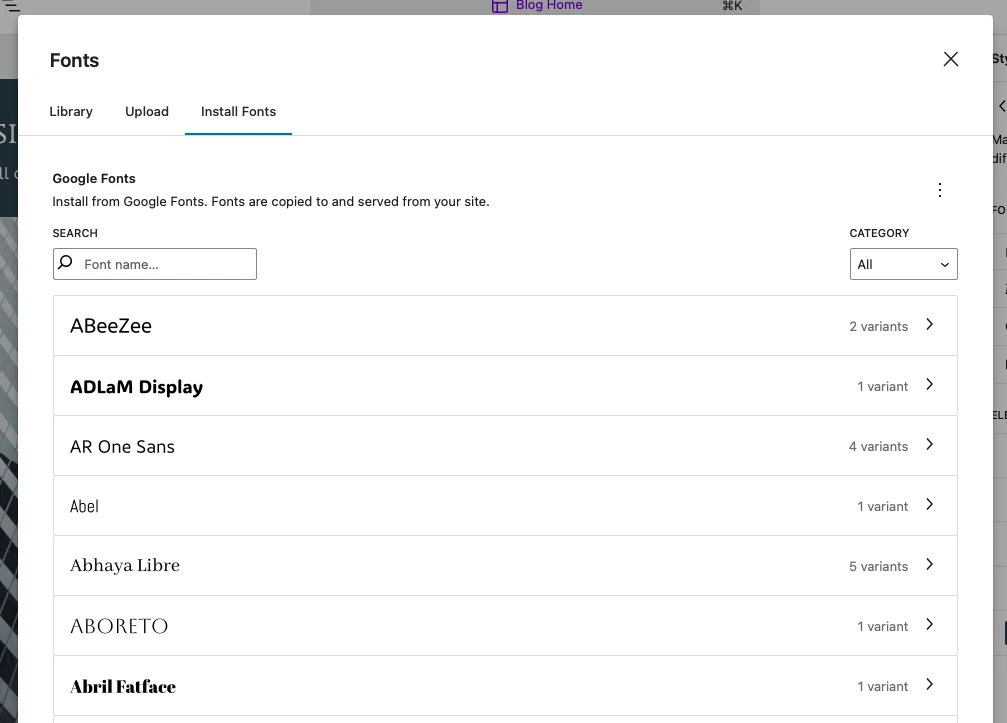
- After uploading or directly selecting your Google Font, click “Install” to see the changes reflected in the Library tab.

- When you have added all fonts you want, you can close this modal window.
2. Apply new fonts to your text elements
Still inside the typography settings, and with your new font families already installed, now go element by element and apply the font of your choice and any other setting adjustments you want for all of them.
You will be able to see the changes in real time in the block editor.
When you finish, save the changes and enjoy your customized WordPress Block Theme. 🙂
Recommendations when Adding New Fonts to your WordPress Block Theme
- When uploading typography, always favor the .woff2 format as it is much lighter than the others (and has a broad browser support)..
- Limit the number of fonts to 2-3. This will enhance design coherence and web performance.
- Include only the font variants you will actually use (2-3 weights it’s usually enough). Having fewer variants to load will also improve web performance and loading speed.
- If you change your mind multiple times, delete any unused fonts to reduce clutter for editors and content creators on your website.
Conclusions
Now you know how to add new fonts to your WordPress Block Theme without code or the need to install any plugins. But remember, you will need to have your website updated to WordPress 6.5 or higher.
Unfortunately, this option is not yet available for Classic WordPress Themes, where you will still need to use a plugin or change the typography through code… for now!
We will keep this post updated as soon as that changes, promised!
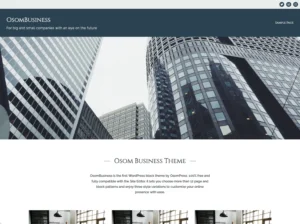
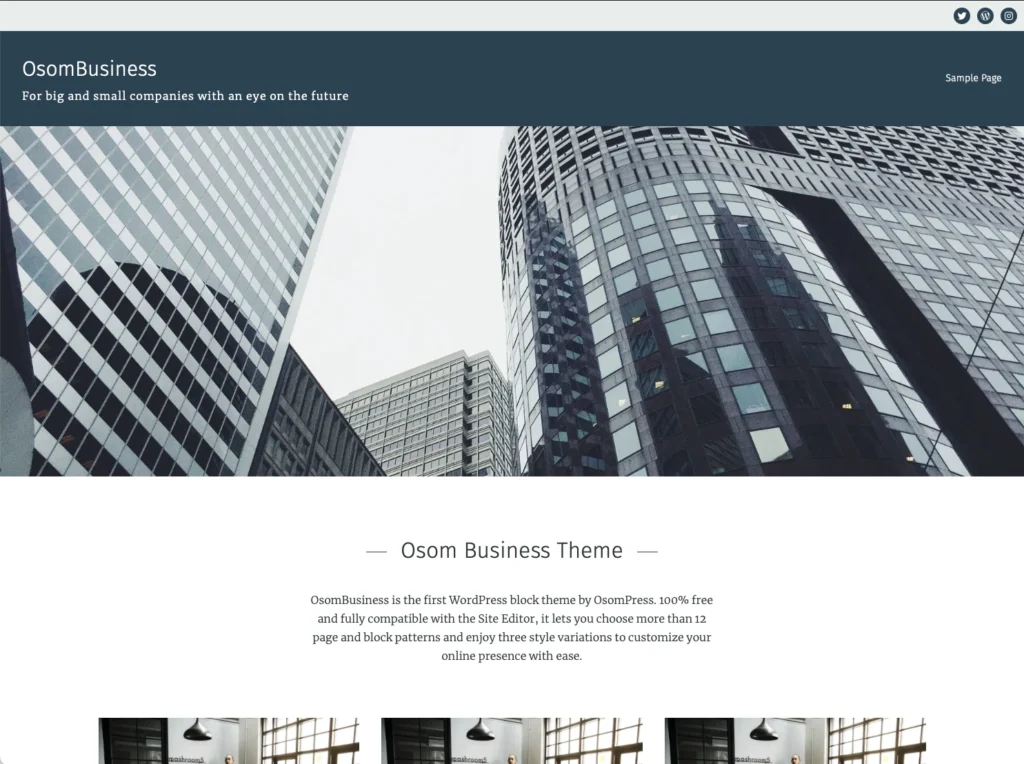
By the way, did you like the block theme used to demonstrate this post? It is already available for download from the WordPress repository, and it’s free! Give it a try and leave us a review if you like it!
We will be forever grateful. Gracias! 🫶

Leave a Reply