In this step-by-step tutorial you will learn how to customize to your liking the footer in a WordPress Block Theme using the Site Editor, with no code needed.
The WordPress Site Editor offers a user-friendly interface to design and customize the footer without the need for coding.
For example, do you want to introduce the “Copyright Notice”, modify its layout or remove/add content?
You can achieve nearly any footer design you desire using the WordPress Site Editor.
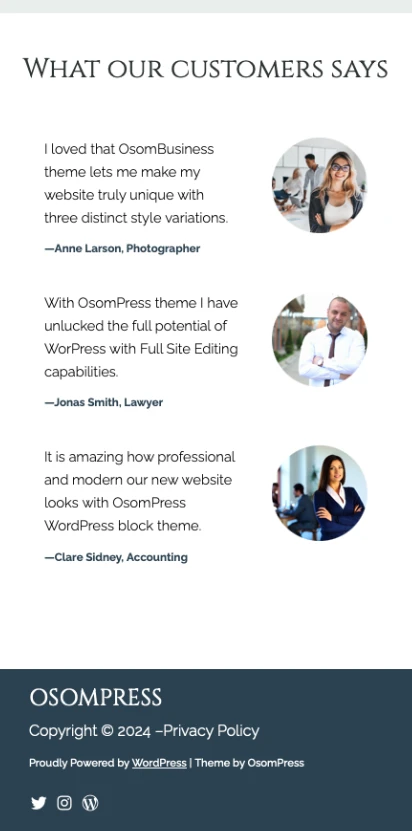
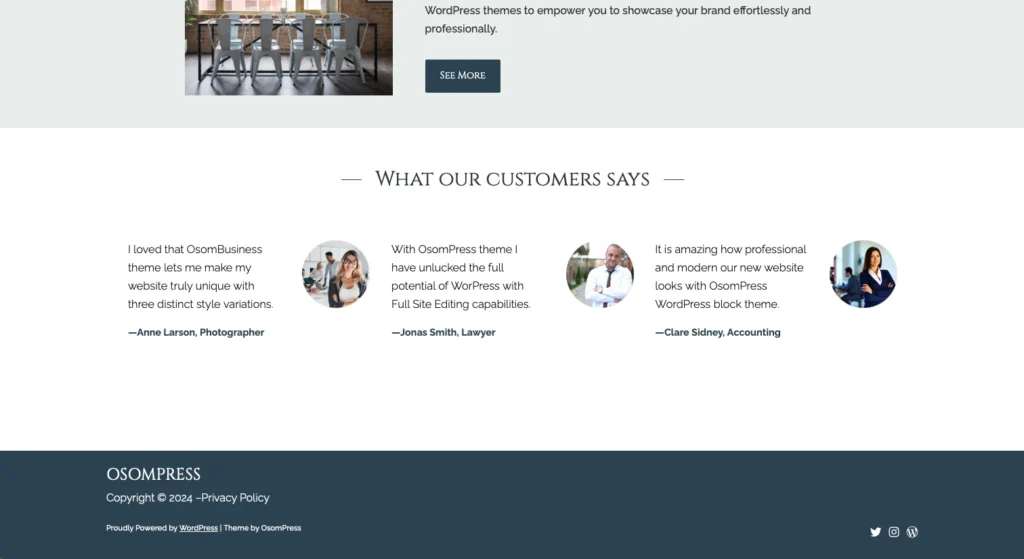
Here you can see an example on how the Osom Business Theme looks like when incorporating a copyright notice and simplifying the footer content:


If you want to do similar changes to your modern WordPress Block Theme footer, follow these steps:
Creating a Minimalistic Footer with Copyright notice, Privacy Policy Link and Social Icons
You can refer to the following instructions or watch this step-by-step video:
Step 1. Creating a New Footer with WordPress Site Editor
To begin, follow these instructions:
- Access the Site Editor Patterns: Navigate to your WordPress dashboard, then go to Appearance > Editor > Patterns.
- Create a new Footer Template Part: Inside Patterns, you will locate the Footer Template Parts. Here you have 3 options:
- Edit one of the footers included in your theme.
- Create one from scratch: Just click on the “+” icon and select “Create template part”.
- Duplicate the footer more similar to your desired design, give it a distinct name and edit that version (you can see this example in the above video demonstration).
- Design your footer using the Block Editor: In this example, these are the main steps you can follow to achieve the final design:
- Move all items you wish to display in the footer into the main group.
- Delete the second group if you are not going to use it.
- Remove any content you do not want to display (in this case, the entire columns block).
- Insert a paragraph block inside the group and type “Copyright © 2024”. Apply the desired style.
- Create a new menu for the navigation block, add the link to the privacy policy page, and set the overlay menu to “Off”.
- Group the copyright notice and the navigation block together in a row block and set “Allow to wrap to multiple lines” to “On”. Set block spacing to 0.
- Combine the second paragraph with the social icons block in another row block, set “Allow to wrap to multiple lines” to “On”, and align this row with space between items. Add a small margin above and below this row.
- Change the main group’s background color and adjust the text color to enhance contrast.
- Publish: Once satisfied with your footer, click “Save” to apply the changes.
If you like this example, you can copy and paste the following HTML directly into your Block Editor and modify it to fulfill your needs.
<!-- wp:group {"style":{"spacing":{"padding":{"top":"var:preset|spacing|small","right":"var:preset|spacing|large","bottom":"var:preset|spacing|small","left":"var:preset|spacing|large"},"margin":{"top":"var:preset|spacing|x-large"},"blockGap":"0"},"elements":{"link":{"color":{"text":"var:preset|color|background"}}}},"backgroundColor":"primary","textColor":"background","layout":{"type":"constrained","contentSize":"1200px"}} -->
<div class="wp-block-group has-background-color has-primary-background-color has-text-color has-background has-link-color" style="margin-top:var(--wp--preset--spacing--x-large);padding-top:var(--wp--preset--spacing--small);padding-right:var(--wp--preset--spacing--large);padding-bottom:var(--wp--preset--spacing--small);padding-left:var(--wp--preset--spacing--large)"><!-- wp:heading {"style":{"elements":{"link":{"color":{"text":"var:preset|color|background"}}}},"textColor":"background"} -->
<h2 class="wp-block-heading has-background-color has-text-color has-link-color">OSOMPRESS</h2>
<!-- /wp:heading -->

<!-- wp:group {"style":{"spacing":{"blockGap":"0"}},"layout":{"type":"flex","flexWrap":"wrap"}} -->
<div class="wp-block-group"><!-- wp:paragraph {"style":{"typography":{"fontStyle":"normal","fontWeight":"300"}}} -->
<p style="font-style:normal;font-weight:300">Copyright © 2024 – </p>
<!-- /wp:paragraph -->

<!-- wp:navigation {"ref":230,"textColor":"background","overlayMenu":"never","layout":{"type":"flex","orientation":"vertical"},"style":{"spacing":{"blockGap":"0"},"typography":{"fontStyle":"normal","fontWeight":"300"}}} /--></div>
<!-- /wp:group -->

<!-- wp:group {"style":{"spacing":{"margin":{"top":"var:preset|spacing|small","bottom":"var:preset|spacing|small"}}},"layout":{"type":"flex","flexWrap":"wrap","justifyContent":"space-between"}} -->
<div class="wp-block-group" style="margin-top:var(--wp--preset--spacing--small);margin-bottom:var(--wp--preset--spacing--small)"><!-- wp:paragraph {"align":"left","style":{"typography":{"fontSize":"0.7rem"}},"className":"has-text-color"} -->
<p class="has-text-align-left has-text-color" style="font-size:0.7rem">Proudly Powered by <a href="https://wordpress.org" rel="nofollow">WordPress</a> | Theme by OsomPress</p>
<!-- /wp:paragraph -->

<!-- wp:social-links {"iconColor":"background","iconColorValue":"#ffffff","size":"has-small-icon-size","style":{"spacing":{"blockGap":{"top":"var:preset|spacing|20","left":"var:preset|spacing|20"},"margin":{"top":"var:preset|spacing|30"}}},"className":"is-style-logos-only"} -->
<ul class="wp-block-social-links has-small-icon-size has-icon-color is-style-logos-only" style="margin-top:var(--wp--preset--spacing--30)"><!-- wp:social-link {"url":"#","service":"twitter"} /-->

<!-- wp:social-link {"url":"#","service":"instagram"} /-->

<!-- wp:social-link {"url":"#","service":"wordpress"} /--></ul>
<!-- /wp:social-links --></div>
<!-- /wp:group --></div>
<!-- /wp:group -->
Step 2. Adding the New Footer to your WordPress Block Theme
Now, you just need to replace your current footer with the new one you have created.
- Access the Site Editor: Navigate to your WordPress dashboard, then go to Appearance > Editor and click on the home page to open the Block Editor.
- Replace the Footer : Click on the document overview, go to the footer section, click on the 3 dots menu of that section, and select “Replace”. You can also search for your new footer, add it to the end of the page and delete the previous footer.
- Save changes: Hit “Save” to make it live.
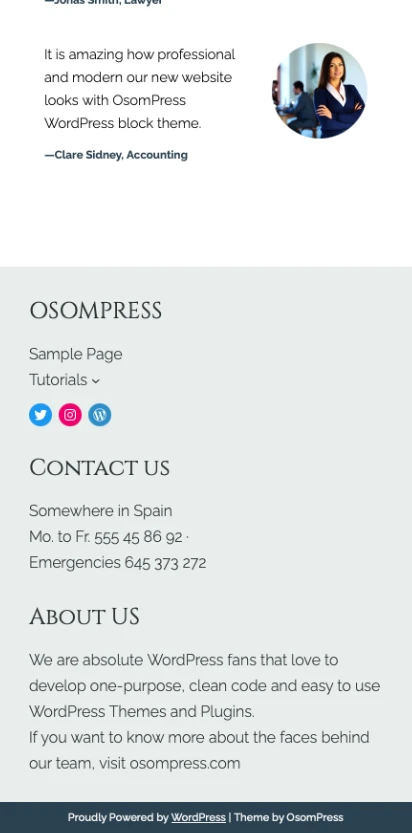
Now your block theme footer will look like this in mobile and desktop screens:
Conclusions
Customizing your WordPress Block Theme footer has never been as straightforward and fun as it is today, thanks to the Site and Block Editor.
In this tutorial, you’ve learned how to create and apply a minimalist footer layout with a copyright notice, a privacy policy link, and social icons to any WordPress Block Theme.
We encourage you to continue experimenting with different layouts and elements to find the perfect footer design for your website.
And if you would like us to create a tutorial featuring a different footer layout, please leave your proposal in the comments. We will be happy to help you! 🙂
By the way, did you like the block theme used in this demonstration? It is available for download from the WordPress repository free of charge! Try it out and please consider leaving us a review if you find it to your liking!
We will be forever grateful. Gracias! 🫶

Leave a Reply